Starting seeds in a small home is less about buying a complete indoor garden and more about controlling a few conditions in the right order. Begin with dependable light, containers that drain, a clean growing medium, a place to label each variety, and a number of plants you can actually care for. Add heat, airflow or a second shelf only when your first tray shows that you need it.
A compact setup can be a shelf, table, utility cart or protected corner that gives seedlings stable light, moderate warmth, clean water and enough room to move from germination to transplanting. Do not start with a universal calendar: the crop, seed packet, local planting date and expected outdoor conditions determine when to sow.
Quick answer: For a first small-space station, plan one standard tray or a small group of individual containers, a close adjustable light, a seed-starting or lightweight soilless mix, a shallow catch tray, labels and a simple watering routine. Keep the first batch small enough that you can inspect it every day.
Choose the station before you buy supplies
The best station is not necessarily the room with the brightest window. It is the place where you can keep the containers stable, reach an electrical outlet safely, protect the surface from water, and check the seedlings without moving everything each day.
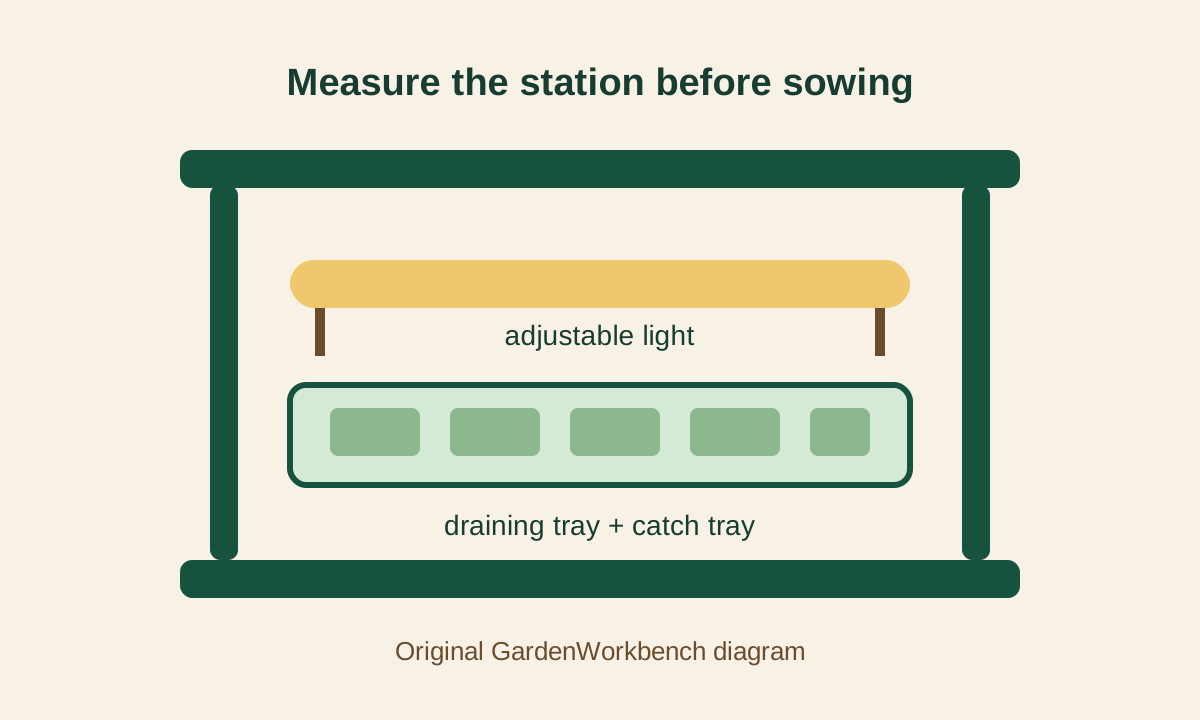
Measure the available footprint and height first. Write down the width, depth and vertical clearance. Then leave working space in front of the tray so you can lift a cover, rotate a flat, remove a weak seedling or water without knocking over the light. A shelf that technically fits a tray but leaves no room for your hands will make the routine frustrating.
Three practical station options
| Station | Works well when | Watch for |
|---|---|---|
| One shelf or bookcase level | You want a repeatable, contained setup | The shelf must tolerate moisture and support the light safely |
| Small table or utility cart | You need easy access from several sides | The footprint can grow quickly if supplies are left on the surface |
| Protected utility area | You have limited living space and a safe outlet | Drafts, pets, cleaning chemicals and temperature swings can interfere |
Choose a location away from heavy traffic, cold drafts, excess heat and pets. Water and growing mix will spill occasionally, so avoid a surface where a small leak could damage woodwork, electronics or stored documents. If you use a basement, closet or storage area, confirm that the space has safe electrical access and enough ventilation for the routine you plan to use.
Light is the part beginners most often underestimate
A windowsill can help with a few plants, but it is an unreliable default for a full tray. Light changes with the season, window direction, weather, glass, room temperature and the distance between the leaves and the source. Seedlings that stretch toward a weak or distant light become tall and thin, which makes later handling harder.
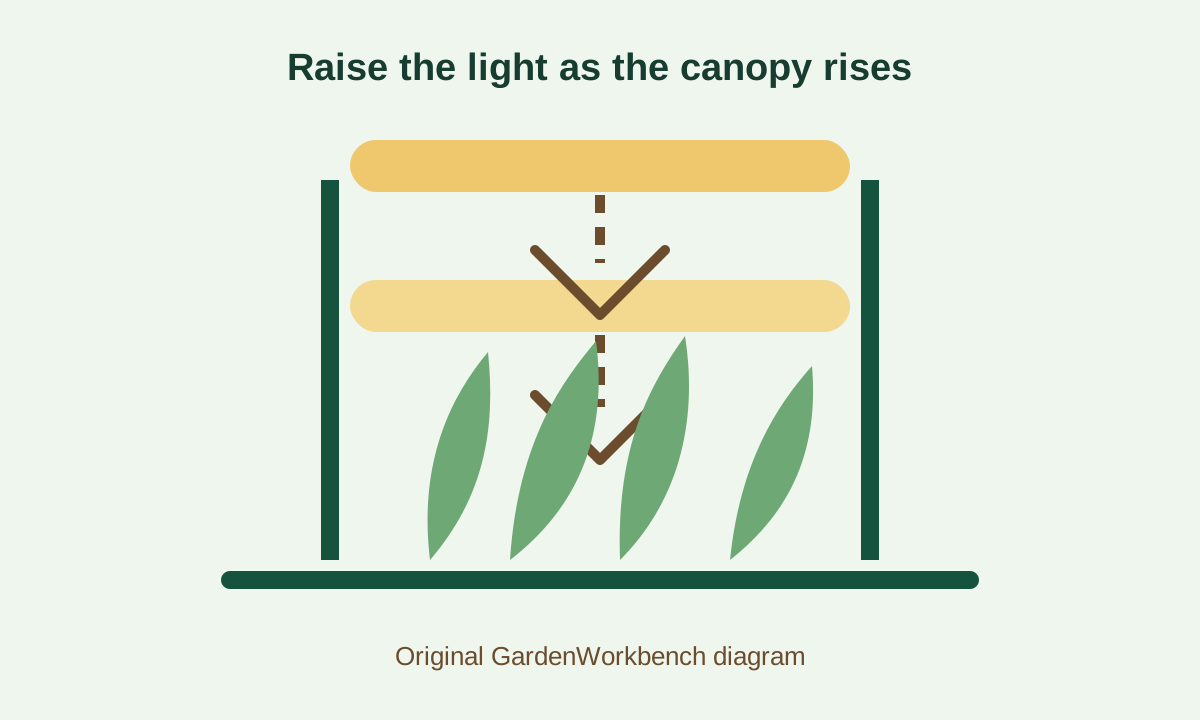
For a small indoor station, use a grow light or a suitable supplemental fixture that can stay close to the seedlings and move upward as they grow. The University of Maryland Extension describes light in terms of intensity, duration and quality; in practical terms, that means the fixture must be close enough, used for a consistent daily period and suitable for plant growth.
Plan the light before sowing
- Measure the lit area. Match the tray width to the part of the fixture that produces useful light. Do not assume a long fixture evenly lights a much wider shelf.
- Make the height adjustable. Chains, hooks or a simple stand let you raise the fixture as the plants grow while keeping it close enough to reduce stretching.
- Use a timer. A consistent photoperiod is easier to maintain than manually switching a light on and off every day. Maryland Extension and Illinois Extension both describe long daily light periods for indoor seedlings; use the fixture instructions and crop response as the practical check.
- Watch the plant, not only the label. If stems lean and lengthen, the light may be too far away, too weak or used for too short a period. If leaves show heat or light stress, raise the fixture slightly and check the manufacturer's instructions.
The target is a stocky plant with compact growth, not the tallest plant possible. Keep the light and its cord away from standing water, and do not create a covered enclosure that traps heat around an electrical fixture.
Use containers that drain and fit the crop
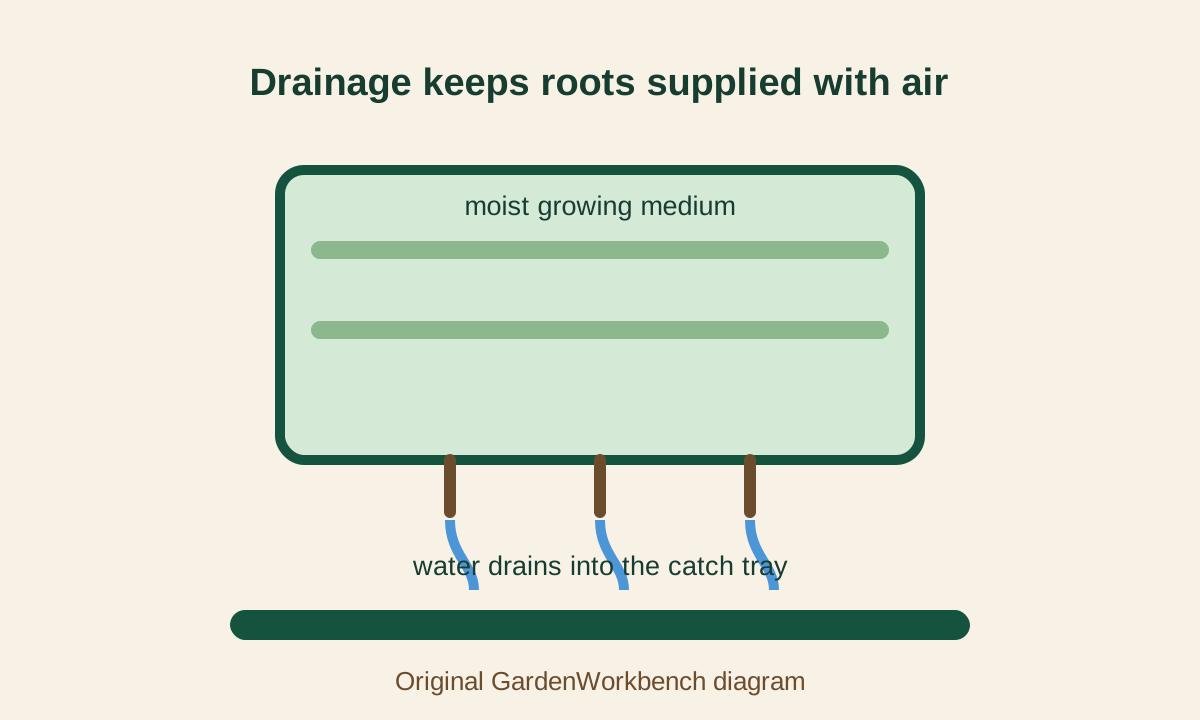
Seed-starting containers do not need to be expensive. Clean reused containers can work if they are deep enough for the crop, have drainage holes and can be handled without collapsing. University extension guidance consistently emphasizes drainage because saturated media can remove the air roots need and can increase the risk of damping-off and root problems.
A connected cell tray is convenient when you want several plants in a compact footprint. Individual pots are easier when the plants will stay in place longer or when you want to avoid disturbing neighboring roots. A shallow tray without drainage holes can act as an outer catch tray, but it should not be confused with a planting container.
| Container choice | Best use | Main trade-off |
|---|---|---|
| Small cell insert | Several seedlings in a measured batch | Cells dry at different rates and crowded roots need timely attention |
| Individual small pots | Larger seedlings or varieties with different timing | Uses more surface area |
| Reused food container | Low-cost trial batch | Must be cleaned, labeled and modified with drainage holes |
| Soil blocks | Reduced plastic and a hands-on setup | Requires the right moisture and handling technique |
Do not sow an entire packet into one crowded container just to save space. Crowding makes watering less even, labels less useful and transplanting more disruptive. For a first batch, choose a small number of varieties and give each a clear label with the crop, variety and sowing date.
Choose a light, clean growing medium
Garden soil is usually too dense for shallow indoor containers and may contain weed seeds, pests or disease organisms. A seed-starting or lightweight soilless mix is easier to moisten uniformly and provides more predictable air and water movement around young roots. Product names vary, so read the label instead of assuming that every bag called “potting soil” is formulated for the same job.
Before filling containers, pre-moisten dry mix in a separate tub or bucket. The goal is evenly damp media that holds together lightly when squeezed but is not dripping. Dry peat-based materials can repel water at first, so pouring a little water over the top and assuming the center is wet can produce uneven germination.
Fill the cells without packing them hard. A gentle firming creates a stable surface, but dense compression reduces the air spaces roots need. Leave enough room to water without immediately washing media out of the container.
Sow according to the packet
Seed depth depends on the crop and seed size. Use the packet's depth and spacing instructions as the primary source. A useful general rule is that many seeds are sown at roughly twice their diameter, but some small seeds need light or only a very thin covering. Do not force every variety into one depth rule.
Make a shallow indentation, place the recommended number of seeds, cover lightly and press the surface gently for good contact. Keep the label with the container, not on a loose piece of paper beside it. Labels should remain readable after watering.
Water for consistent moisture, not constant saturation
The most common small-space mistake is treating wet media as proof of good care. Seeds need moisture to begin germination, but roots also need oxygen. Saturated containers can slow root development and create conditions associated with damping-off and root disease.
Use one of two simple methods:
- Top watering: apply water slowly to the surface until it drains from the bottom. Pause if the media begins to float or wash away.
- Bottom watering: place containers in a shallow tray of water and allow the mix to wick moisture upward. Remove the containers once the surface is evenly damp rather than leaving them standing in water.
Check the container, not just the surface. A small cell can dry faster than a larger pot, and a covered tray can stay damp longer than an uncovered one. If a clear cover is used for germination, remove it when sprouts appear so the new leaves receive airflow and the surface can dry appropriately.
Most fresh soilless mixes contain enough nutrients for the early stage, but the exact formulation varies. Do not add strong fertilizer automatically on day one. When the seedlings have used the nutrients in the medium or develop their first true leaves, follow a product label for a diluted fertilizer intended for young plants. More fertilizer is not a substitute for adequate light.
Warmth, airflow and labels make the routine manageable
Most vegetable seeds germinate best in a consistently warm, moist medium, but the exact requirement varies by crop. Use the packet and extension guidance for the specific variety. A heat mat can help when the station is cool, but it is not the first purchase for every beginner.
Add bottom heat when:
- the room is consistently cool and the crop needs warmer media;
- germination is slow even though moisture and sowing depth are correct; or
- you are starting warm-season crops that benefit from warmer germination conditions.
Once seedlings emerge, remove or reduce heat as appropriate for the crop. Warm, stagnant, overly wet air is not a complete growing environment. Gentle airflow and sensible spacing help the surface dry between waterings, but a fan should not blast delicate seedlings or dry the tray in a few hours.
Label every container with:
- crop and variety;
- sowing date;
- number of seeds or cells used; and
- any packet timing note that affects transplanting.
A simple label prevents the most expensive small-space error: growing several healthy-looking plants and then forgetting what they are or where they belong.
A one-tray starter configuration
For a first attempt, keep the system intentionally limited. One standard tray or a few individual containers are enough to learn the routine without creating a daily care burden.
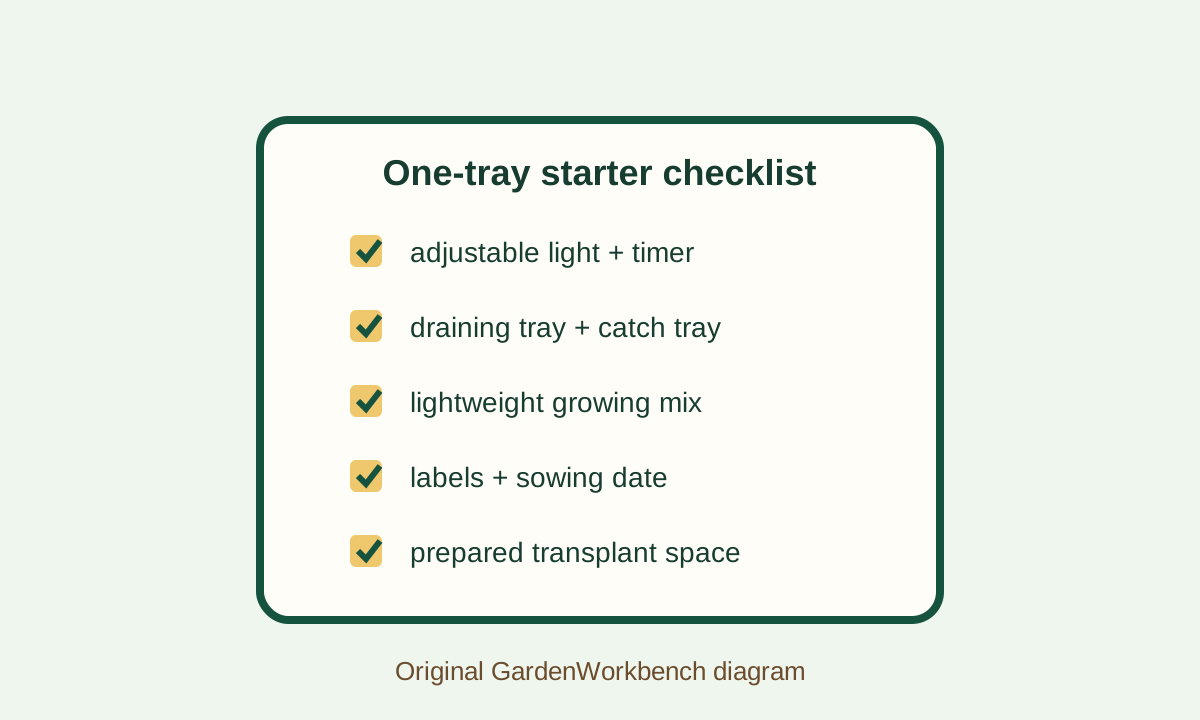
Basic configuration
- One stable, water-resistant surface.
- One tray with drainage cells or a small set of individual pots.
- One outer catch tray that does not keep the planting containers submerged.
- Fresh seed-starting or lightweight soilless mix.
- A close, adjustable grow light with a timer.
- Crop labels and a waterproof marker.
- A small watering can, squeeze bottle or clean shallow watering tray.
- A hand towel or washable mat for spills.
- A notebook or GardenWorkbench planning tool to map the station and record sowing dates.
Start with two or three crops that have different but manageable needs. For example, a leafy green, a brassica or another cool-season crop, and one warm-season crop can teach you how timing and growth rate differ. Do not fill every cell because the tray has empty space. Empty cells are useful when a seedling fails, a crop needs more room or you need to stagger a second sowing.
A starter station is successful when you can answer four questions each day: Are the leaves receiving enough light? Is the medium damp but not saturated? Is the air around the tray reasonably fresh? Do I know what every cell is and when it was sown?
When to add a heat mat, fan or second shelf
Buy the next component only after you can identify the problem it solves.
| Symptom | First check | Possible next component |
|---|---|---|
| Stems are long and leaning | Light distance, fixture output and daily schedule | A closer or better-positioned light |
| Media stays wet for days | Drainage, tray depth and watering volume | Better drainage or a less waterlogged routine |
| Germination is slow in a cool room | Packet requirements and actual media temperature | A seed-starting heat mat used safely |
| Surface remains humid after sprouts appear | Cover removal, spacing and room airflow | Gentle airflow, not a strong direct fan |
| Plants outgrow the tray | Sowing date and cell size | Larger containers or a second shelf |
| Labels disappear | Marker and water exposure | Waterproof labels and a written backup |
A second shelf is not automatically an upgrade. It increases the number of plants, trays, cords and daily checks. Add it when the first station is stable and you have a clear transplant plan.
From seed packet to outdoor transplant
Indoor starting is only useful if the seedlings have somewhere to go. Before sowing, identify the container, bed or garden area that will receive each crop. Note the light, expected spacing, water access and whether the planting location will be ready when the seedlings are large enough.
Use the packet and local extension guidance for timing. Avoid treating a generic “weeks before last frost” number as a universal calendar. The relevant date depends on the crop, your local conditions and the outdoor site.
Before permanent planting, harden seedlings gradually. Move them outdoors for limited periods in a protected location and increase exposure over time, while protecting them from harsh wind, direct sun, cold conditions and sudden drying. The goal is a controlled transition, not a single jump from indoor light to a full day outside.
If the destination garden is a raised bed or container, plan the destination space before sowing. That keeps seed starting connected to the actual garden instead of turning the indoor station into a collection of plants with no prepared home.
Common small-space mistakes
Starting too many varieties
A full packet is not a requirement. Start a measured number, record what germinates and save the remaining seed according to the packet and reputable storage guidance.
Treating a window as the entire lighting plan
A bright window can be useful, but distance and seasonal light still matter. Watch the plant's shape and lean, not only how bright the room looks to your eyes.
Watering on a fixed schedule
Indoor trays do not dry at the same rate every day. Check moisture, drainage and the plant's stage instead of adding water because a calendar says it is time.
Leaving seedlings crowded for too long
Crowded roots become harder to separate without damage. Move plants while they are still manageable, based on their true leaves, cell size and crop behavior.
Adding fertilizer, heat and fans at once
Too many changes make diagnosis difficult. Correct light, drainage and moisture first, then add one component when you can explain the problem it addresses.
Forgetting the destination garden
Seedlings are not the final product. Measure the bed, container or planting area early, and use the GardenWorkbench planner to record spacing, timing and follow-up tasks.
Frequently asked questions
Can I start seeds on a windowsill?
Yes, a suitable window can work for a small number of plants, especially when it provides strong direct light and is not drafty or excessively hot. It is less predictable than a close, adjustable light. Watch for leaning, stretched stems and uneven drying.
Do I need a grow light for one tray?
Not always, but a grow light makes the light schedule and plant distance easier to control. If the window does not provide enough light, a fixture is usually more useful than adding fertilizer or watering more often.
Is garden soil okay for seed starting?
Garden soil is generally too dense and unpredictable for shallow indoor containers. A seed-starting or lightweight soilless mix is easier to manage. Follow the product label and avoid assuming that every potting product has the same texture or nutrient level.
Should every seedling get a heat mat?
No. Heat depends on the crop and the temperature of the growing medium. Use the packet and extension guidance first. Add a seed-starting mat when a cool station is the limiting factor, and remove or reduce heat as appropriate after germination.
How often should I water seedlings?
There is no universal interval. Check the container and medium, then water enough to restore even moisture without keeping roots submerged. Covered trays, small cells, room temperature and light intensity all change how quickly the medium dries.
When should I move seedlings to larger pots?
Move them before the tray becomes a dense root mass and when the crop has enough growth to handle the transition. The first true leaves, cell size and crop behavior are more useful signals than a single calendar date.
Useful Sources And Verification
Use these first-party extension sources to verify crop-specific timing and adjust the setup for your conditions:
- University of Minnesota Extension: Starting seeds indoors — light, containers, seed freshness, station selection and windowsill limitations.
- University of Illinois Extension: Get a jump-start on spring by starting seeds at home — basic materials, pre-moistening, light, heat and hardening off.
- University of Maryland Extension: Starting vegetable seeds indoors — crop timing ranges, light distance, containers, growing media, watering and transplanting.
Verify the seed packet, local planting dates, crop-specific temperature requirements and the current instructions for any light, heat mat, fertilizer or container product before use. GardenWorkbench does not claim that one setup works for every crop or climate.