Choose the smallest raised bed that gives you enough growing depth, reliable drainage and comfortable access. In a small space, the winning bed is not the largest box that fits between two walls. It is the setup you can reach, water, fill and maintain without stepping into the soil or turning every harvest into a furniture-moving project.
This guide gives you a repeatable way to choose a raised bed for a balcony, patio, side yard or compact backyard. Measure the site first, match the bed to the way you will reach it, then budget for soil, water and protection. The product itself is only one part of the decision.
1. Measure the space before you compare products
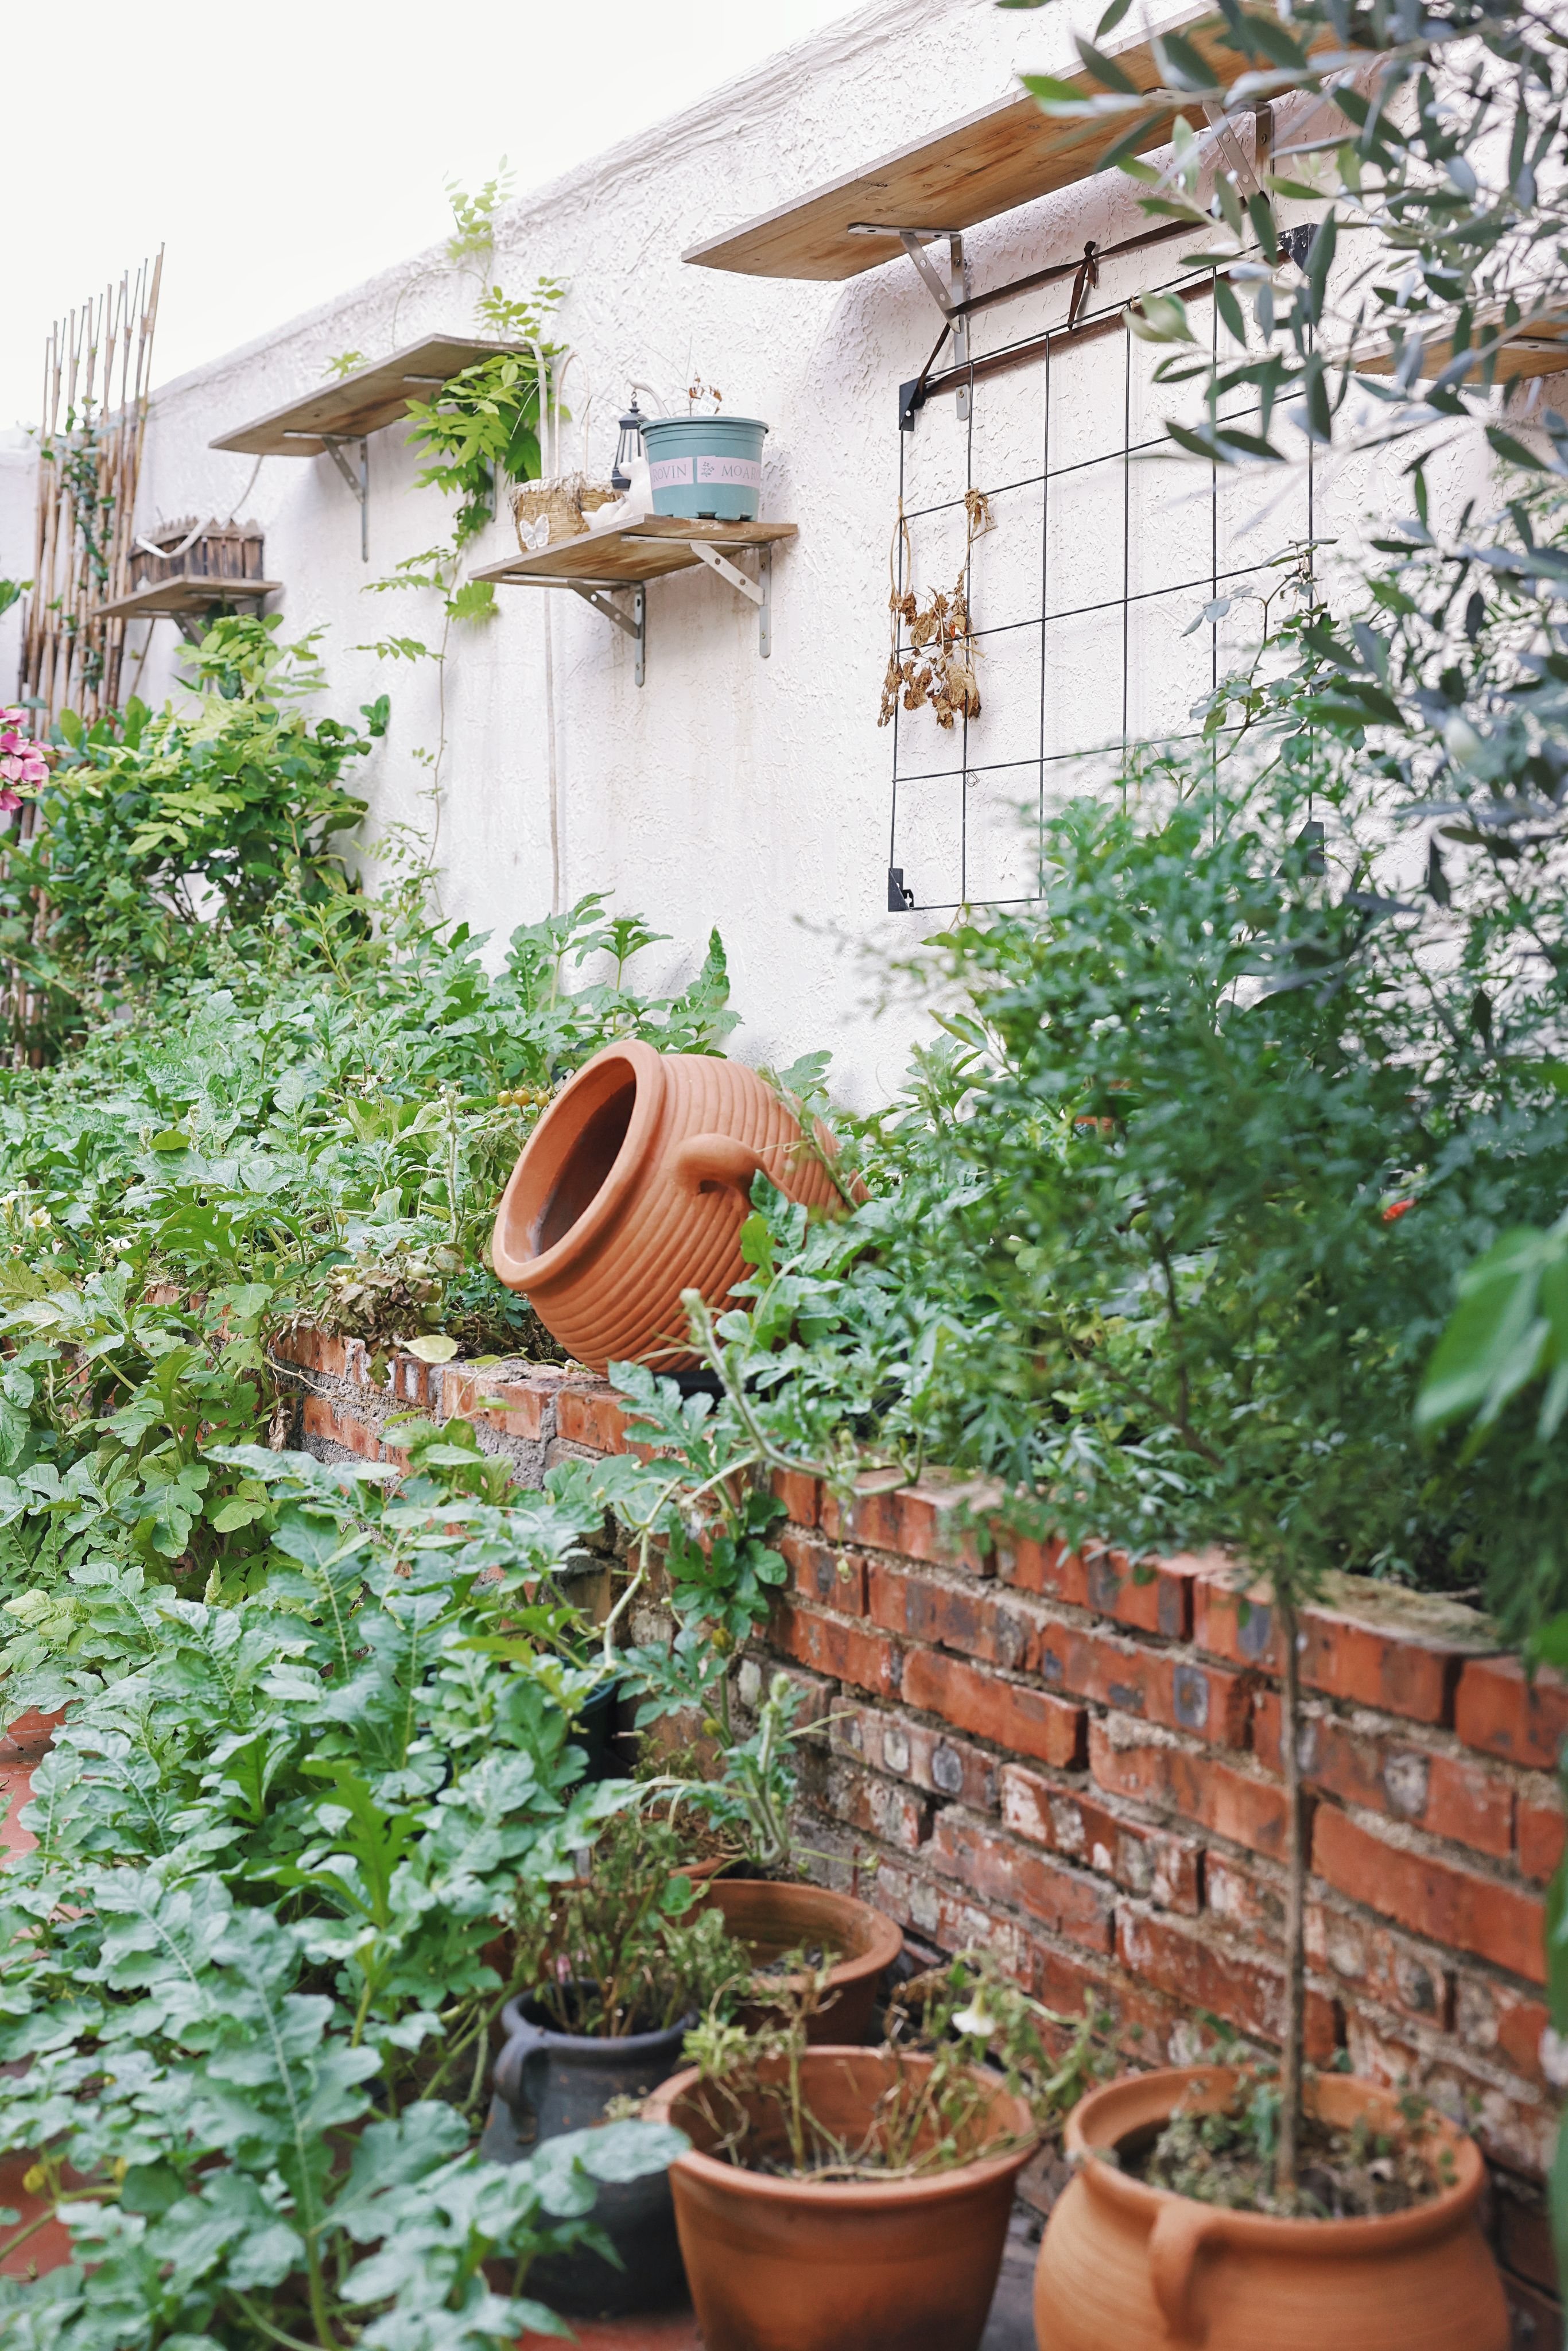
Start with a tape measure, not a shopping tab. Record the usable length and width, the surface under the bed, the nearest water source and the path you need for carrying soil. Include doors, gates, railings, steps and any place where a hose or watering can must turn. A bed can fit on a plan and still be a poor choice if the finished setup blocks the only route through the space.
Measure the bed footprint and the working space
Use the actual footprint, not the outside edge of a product photo. A framed bed needs room for the frame, corner supports and any legs or braces. A bed beside a wall or railing also needs a working strip on the open side. You should be able to pull weeds, harvest, inspect the soil and adjust irrigation without leaning across plants or standing on the growing surface.
For a bed that can be reached from both long sides, a width close to 4 feet is a useful upper limit for many gardeners. A one-sided bed is easier to manage when it is closer to 2 feet wide. These are practical reach guidelines, not rules for every body or tool. The University of Minnesota Extension and Purdue Extension both emphasize access from outside the bed so the soil is not compacted by foot traffic.
Check light, wind and water access
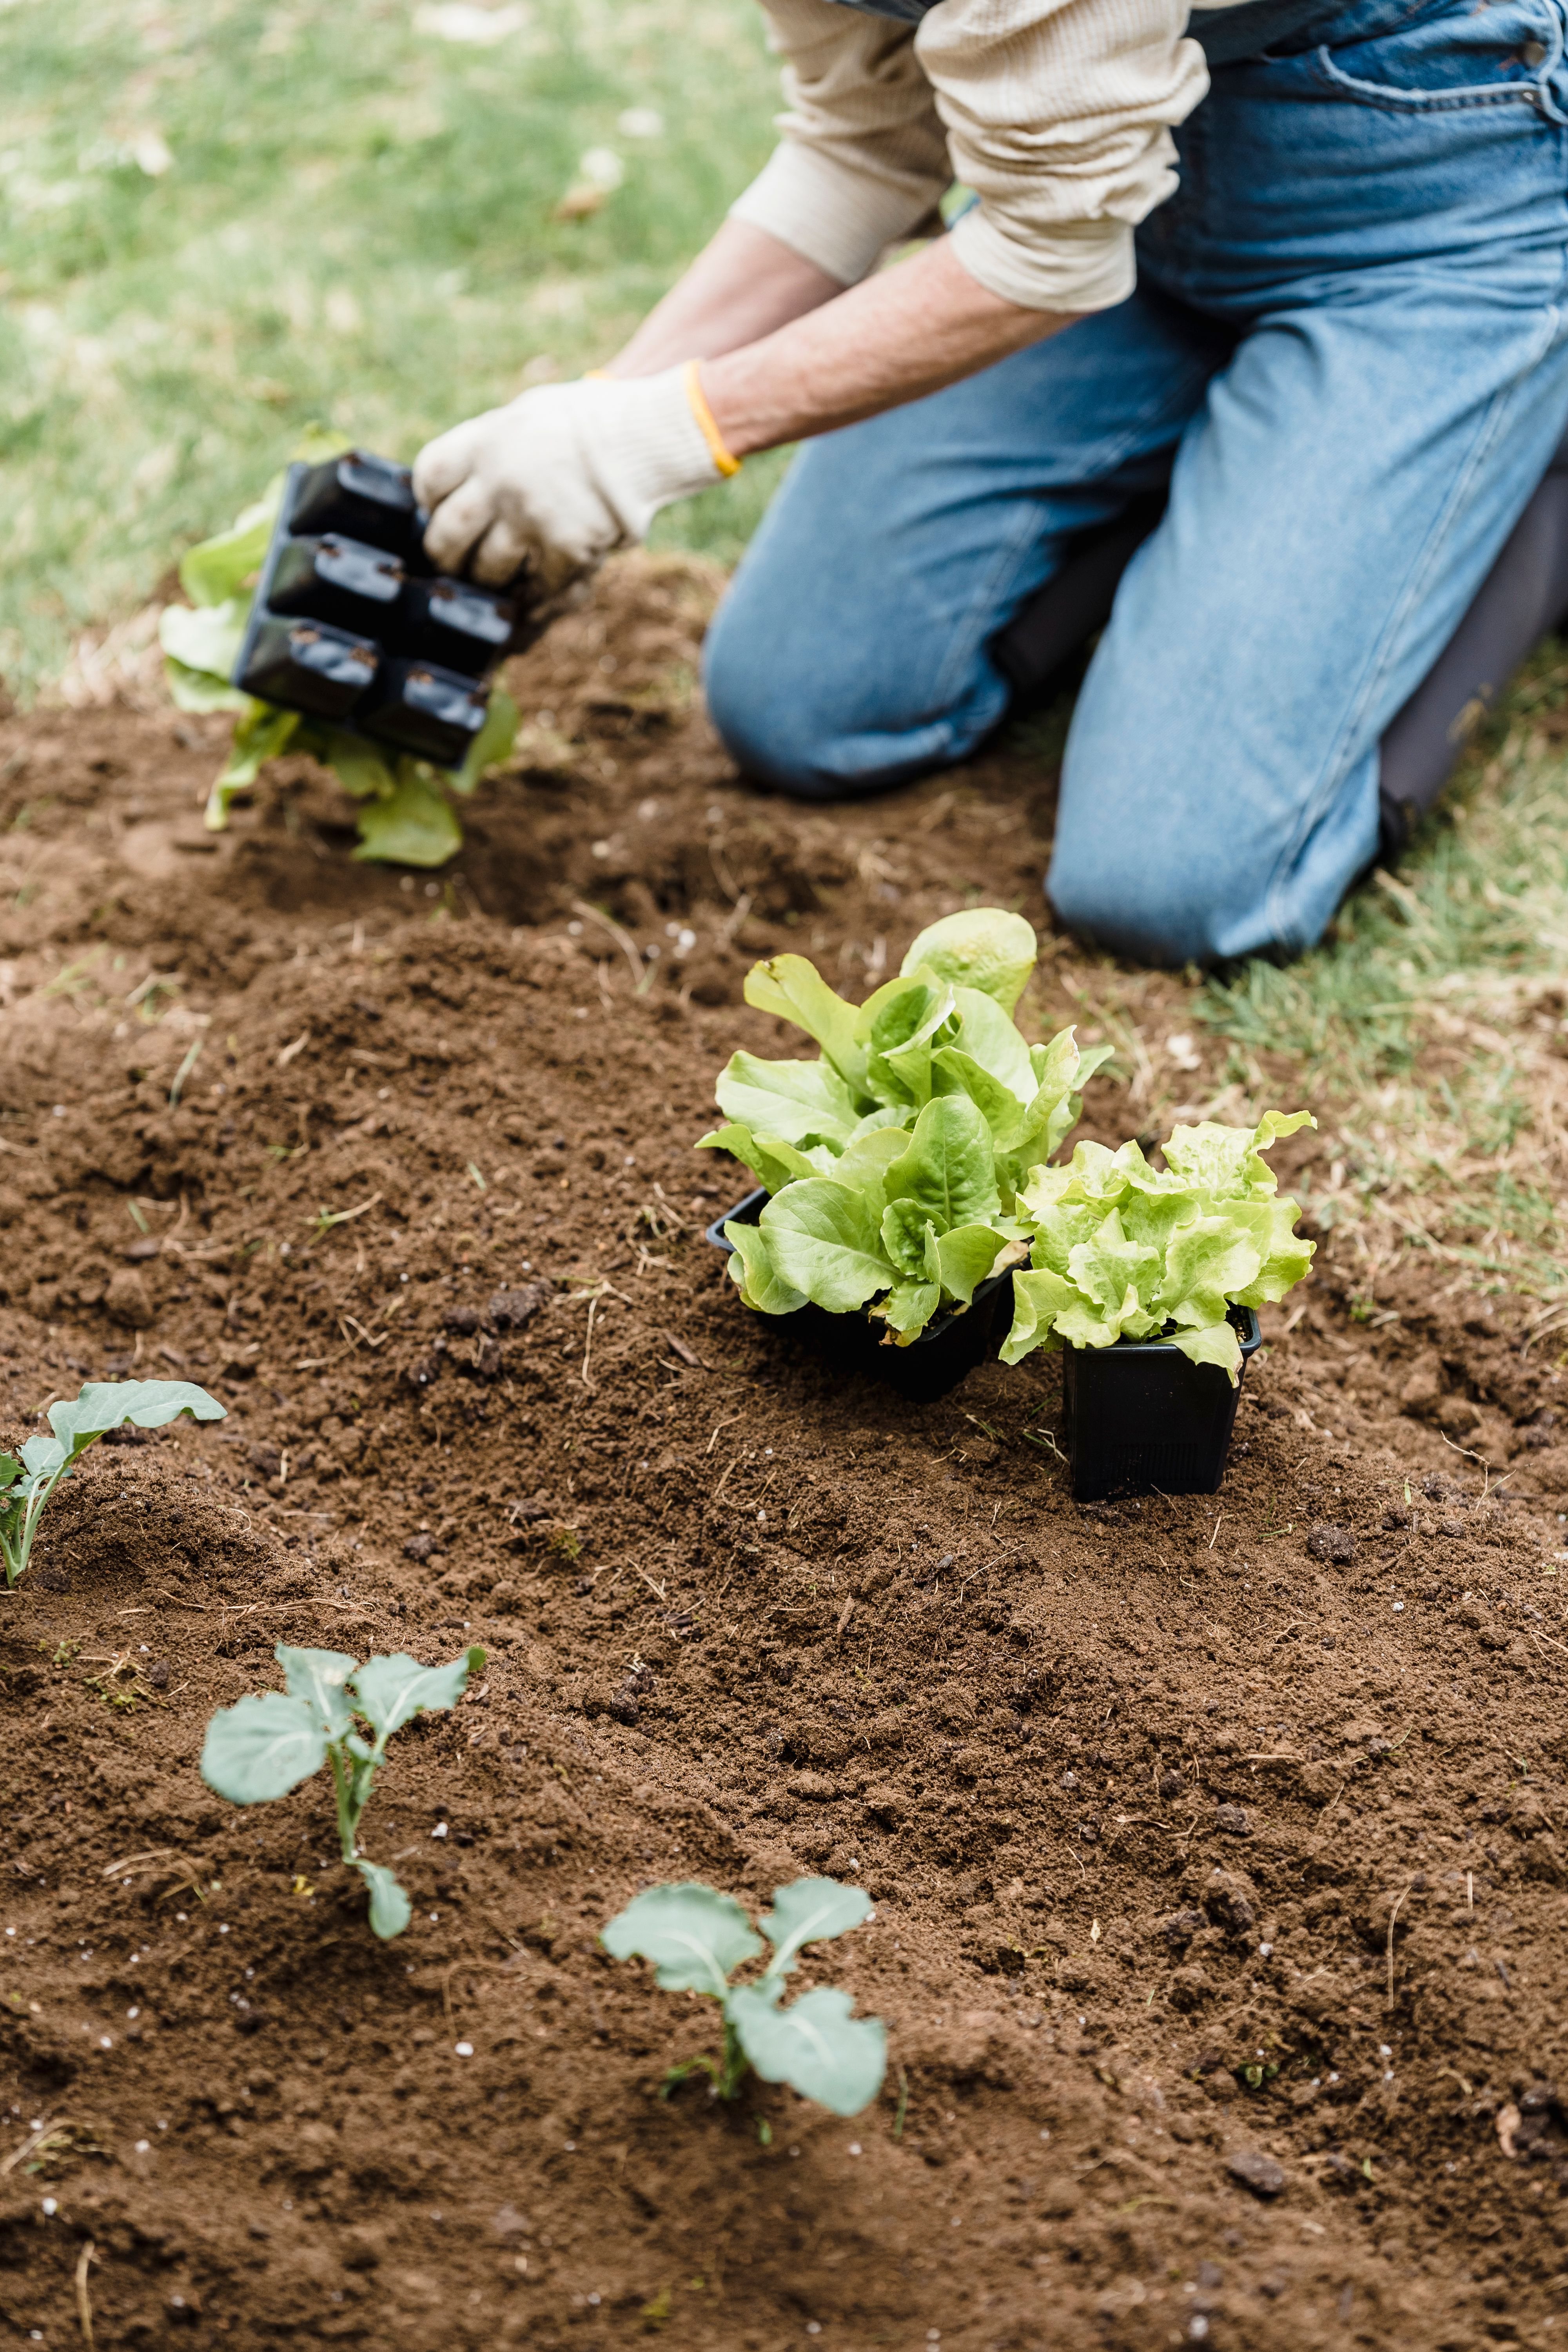
Write down how many hours of direct sun reach the planned location during the growing season. Nearby walls and balconies can create heat, shade or reflected light that changes during the day. Also note wind exposure. A light container may need a wider base, a lower center of gravity or a safe way to anchor it. Do not rely on a tall bed or a railing as a substitute for a stable structure.
Water access matters because the bed will need regular attention even when rainfall is normal. The University of Delaware Extension guide recommends locating raised beds where they receive strong direct light, drain well and remain easy to reach from a water source. In a small space, a short hose route or a watering can that does not need to cross a doorway can be more valuable than a larger bed.
2. Match the bed shape to the site
Raised beds come in more forms than the familiar rectangular kit. Your site may suit a low framed bed, a narrow trough, a planter on legs, a modular metal kit or several small boxes. Choose the shape that preserves access and leaves a maintenance path.
| Site condition | Useful starting shape | What to check before buying |
|---|---|---|
| Open patio or small backyard | Freestanding rectangle, often 3–4 ft wide | Access from both sides, level surface and a route for soil delivery. |
| Against a wall or fence | Narrow bed or trough, often about 2 ft wide | Reach to the back edge, reflected heat and whether the wall blocks light. |
| Balcony or roof terrace | Lightweight planter or several small containers | Drainage, wind, load limits and where water will run. |
| Limited mobility or seated gardening | Raised planter with a stable working height | Leg clearance, turning space, height, stability and safe edge access. |
One large bed or several small beds?
One large bed can simplify watering and make a space look calm, but it also concentrates the weight, soil purchase and maintenance in one structure. Several small beds can create better access and make it easier to rotate crops or isolate a problem. The trade-off is more edges, more irrigation connections and potentially more exposed soil.
For a first setup, two smaller beds may be more forgiving than one oversized box. You can start with the area you can actually maintain, observe how much sun and water the site receives, and expand only when the routine feels manageable. This approach also reduces the risk of buying a structure that becomes permanent clutter.
3. Choose depth based on the crops and the surface
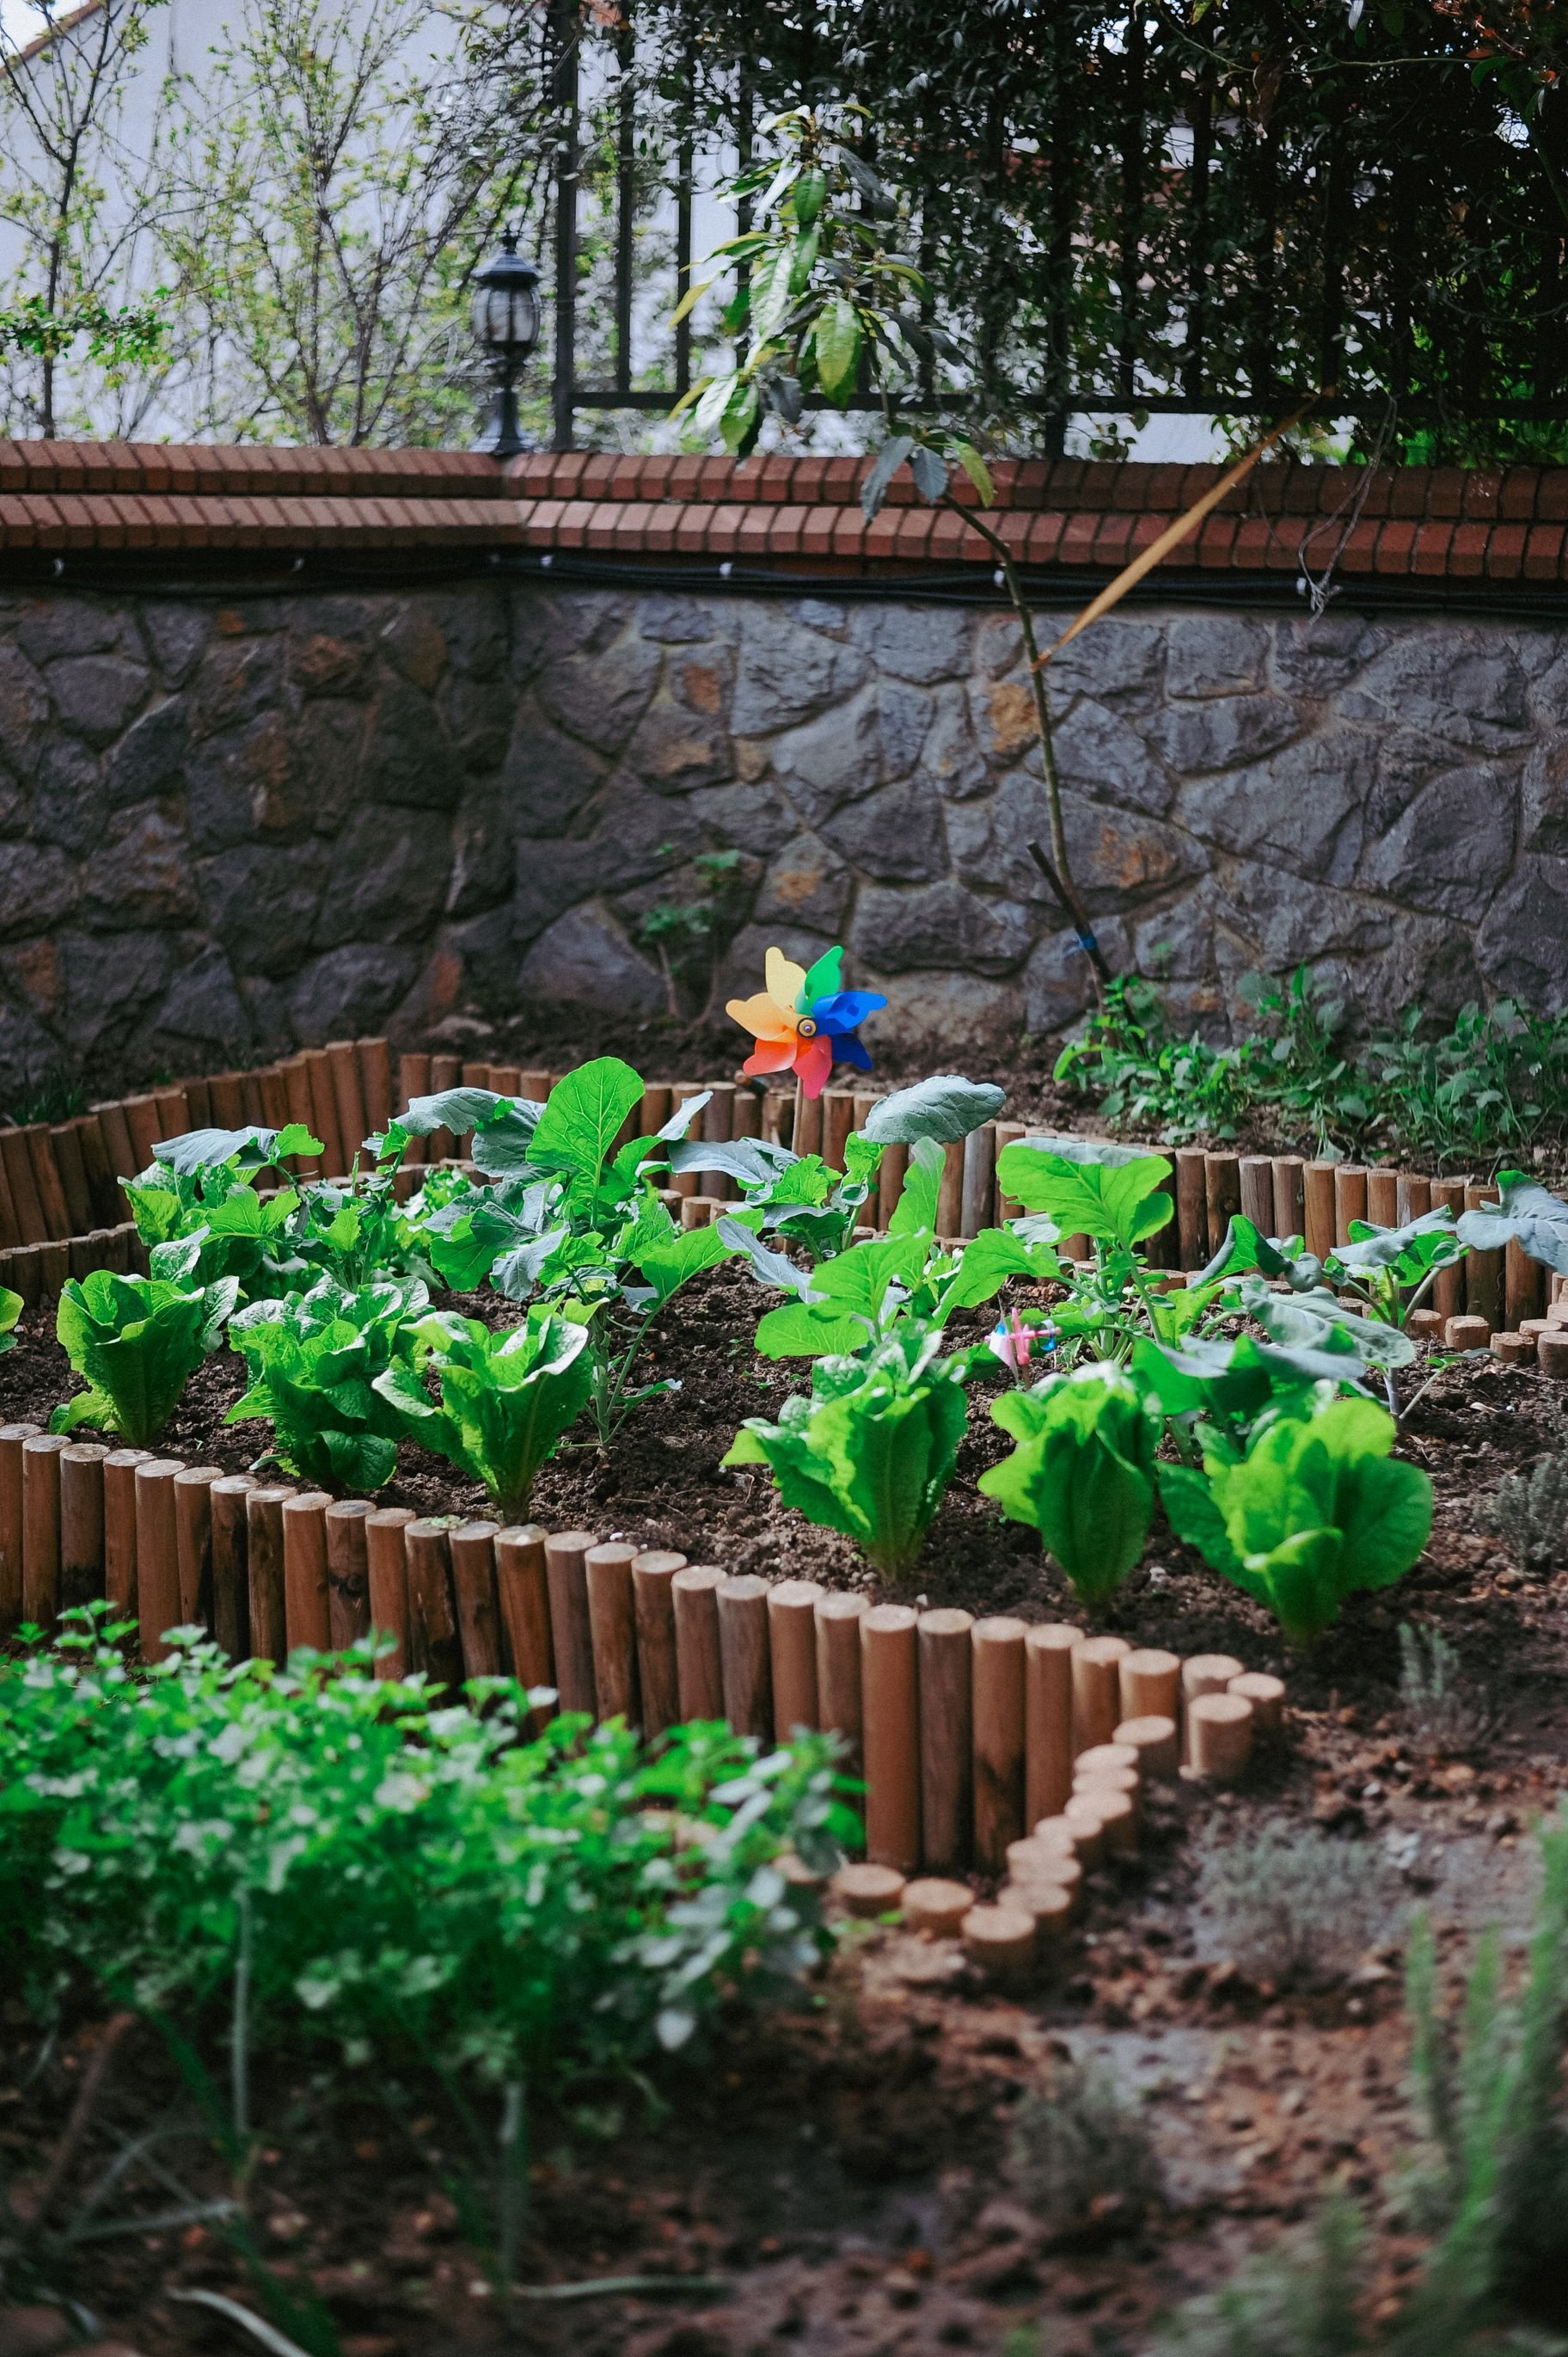
Bed height and soil depth are related but not identical. A tall frame may be comfortable to work beside, yet the plants still need enough usable rooting volume. A shallow bed on open ground may work for herbs and leafy greens, while a container on concrete needs a complete growing medium and dependable drainage.
Many extension guides use roughly 6 to 12 inches as a starting rooting zone for common vegetables, with deeper soil helpful for crops with longer roots. The University of Delaware describes a 1-foot depth as a practical baseline for a productive garden, while Mississippi State University Extension notes that 6 inches is a recommended minimum in its raised-bed guidance. Use those ranges as planning references, then match the depth to the crop list, local climate and the container design.
Think about the surface below the bed
On soil, roots may be able to continue below the framed area if the base is open and the ground is suitable. On concrete, pavers or a balcony, the bed is effectively a container. It must hold enough medium, drain excess water safely and protect the surface below. Do not assume that adding gravel under potting mix fixes poor drainage. The entire system needs an outlet and the surface needs a plan for runoff.
If a planter is closed at the bottom, follow the manufacturer's drainage instructions. If you build a custom container, provide drainage holes and check where the water will go. A liner that blocks every outlet can create a waterlogged root zone. Drainage is a design requirement, not an accessory to add after the bed is filled.
4. Compare materials by the job they have to do
Material choice should follow the site, the expected service life and the type of gardening you plan to do. Wood can be easy to repair and visually warm. Metal can be slim and durable but may heat up in exposed locations. Composite or recycled-plastic systems can reduce rot concerns but may cost more or have different structural limits. Blocks and masonry can be stable but heavy and less flexible to move.
| Material | Potential strengths | Questions to ask |
|---|---|---|
| Untreated or naturally durable wood | Easy to cut, repair and customize. | How long will it last in the local moisture pattern? Are the boards thick and supported? |
| Galvanized or coated metal | Thin walls, clean footprint and low rot risk. | Will the location overheat, corrode or need a safer edge treatment? |
| Composite or recycled plastic | Low rot risk and consistent appearance. | How does it handle weight, sun and fasteners? Can damaged parts be replaced? |
| Brick, block or stone | Stable, modular and often easy to source locally. | Can the surface support the weight? Will the design drain and remain accessible? |

Be careful with reclaimed and treated wood
Do not use old railroad ties, creosote-treated timber, unknown salvaged boards or materials with a history you cannot verify around edible crops. The University of Maryland Extension and UMN Extension both recommend avoiding older treated lumber and checking the intended use of newer pressure-treated products. Naturally durable wood, new materials labeled for residential ground contact, masonry or a purpose-made garden kit may each be reasonable depending on your preferences and local availability.
If you are uncertain, choose a clearly identified material, keep the soil and frame in good condition, and avoid making a food-safety claim that the supplier has not documented. A good article can explain trade-offs without pretending that one material is universally correct.
5. Plan soil, water and the total setup cost
The bed is usually the visible purchase, but soil and water determine whether the garden is pleasant to use. Estimate the internal length, width and growing depth, then multiply them to get a rough cubic-foot volume. For metric planning, multiply metres by metres by metres to get cubic metres. Add an allowance for settling, but verify the supplier's bag size and the product's stated coverage before ordering.
Keep the mix appropriate for the growing situation. On a balcony, weight and drainage are central concerns. On open ground, the bed may be able to connect with the native soil. Compost can improve organic matter, but more compost is not automatically better for every crop or climate. Use a local extension recommendation or a soil test when the site has a known problem.
Use a first-purchase sequence
- Measure: footprint, reach, surface, sun, wind and water route.
- Choose structure: shape, material, height and a safe working edge.
- Calculate medium: volume, settling allowance, delivery route and storage.
- Plan drainage: outlet, runoff destination and protection for the surface below.
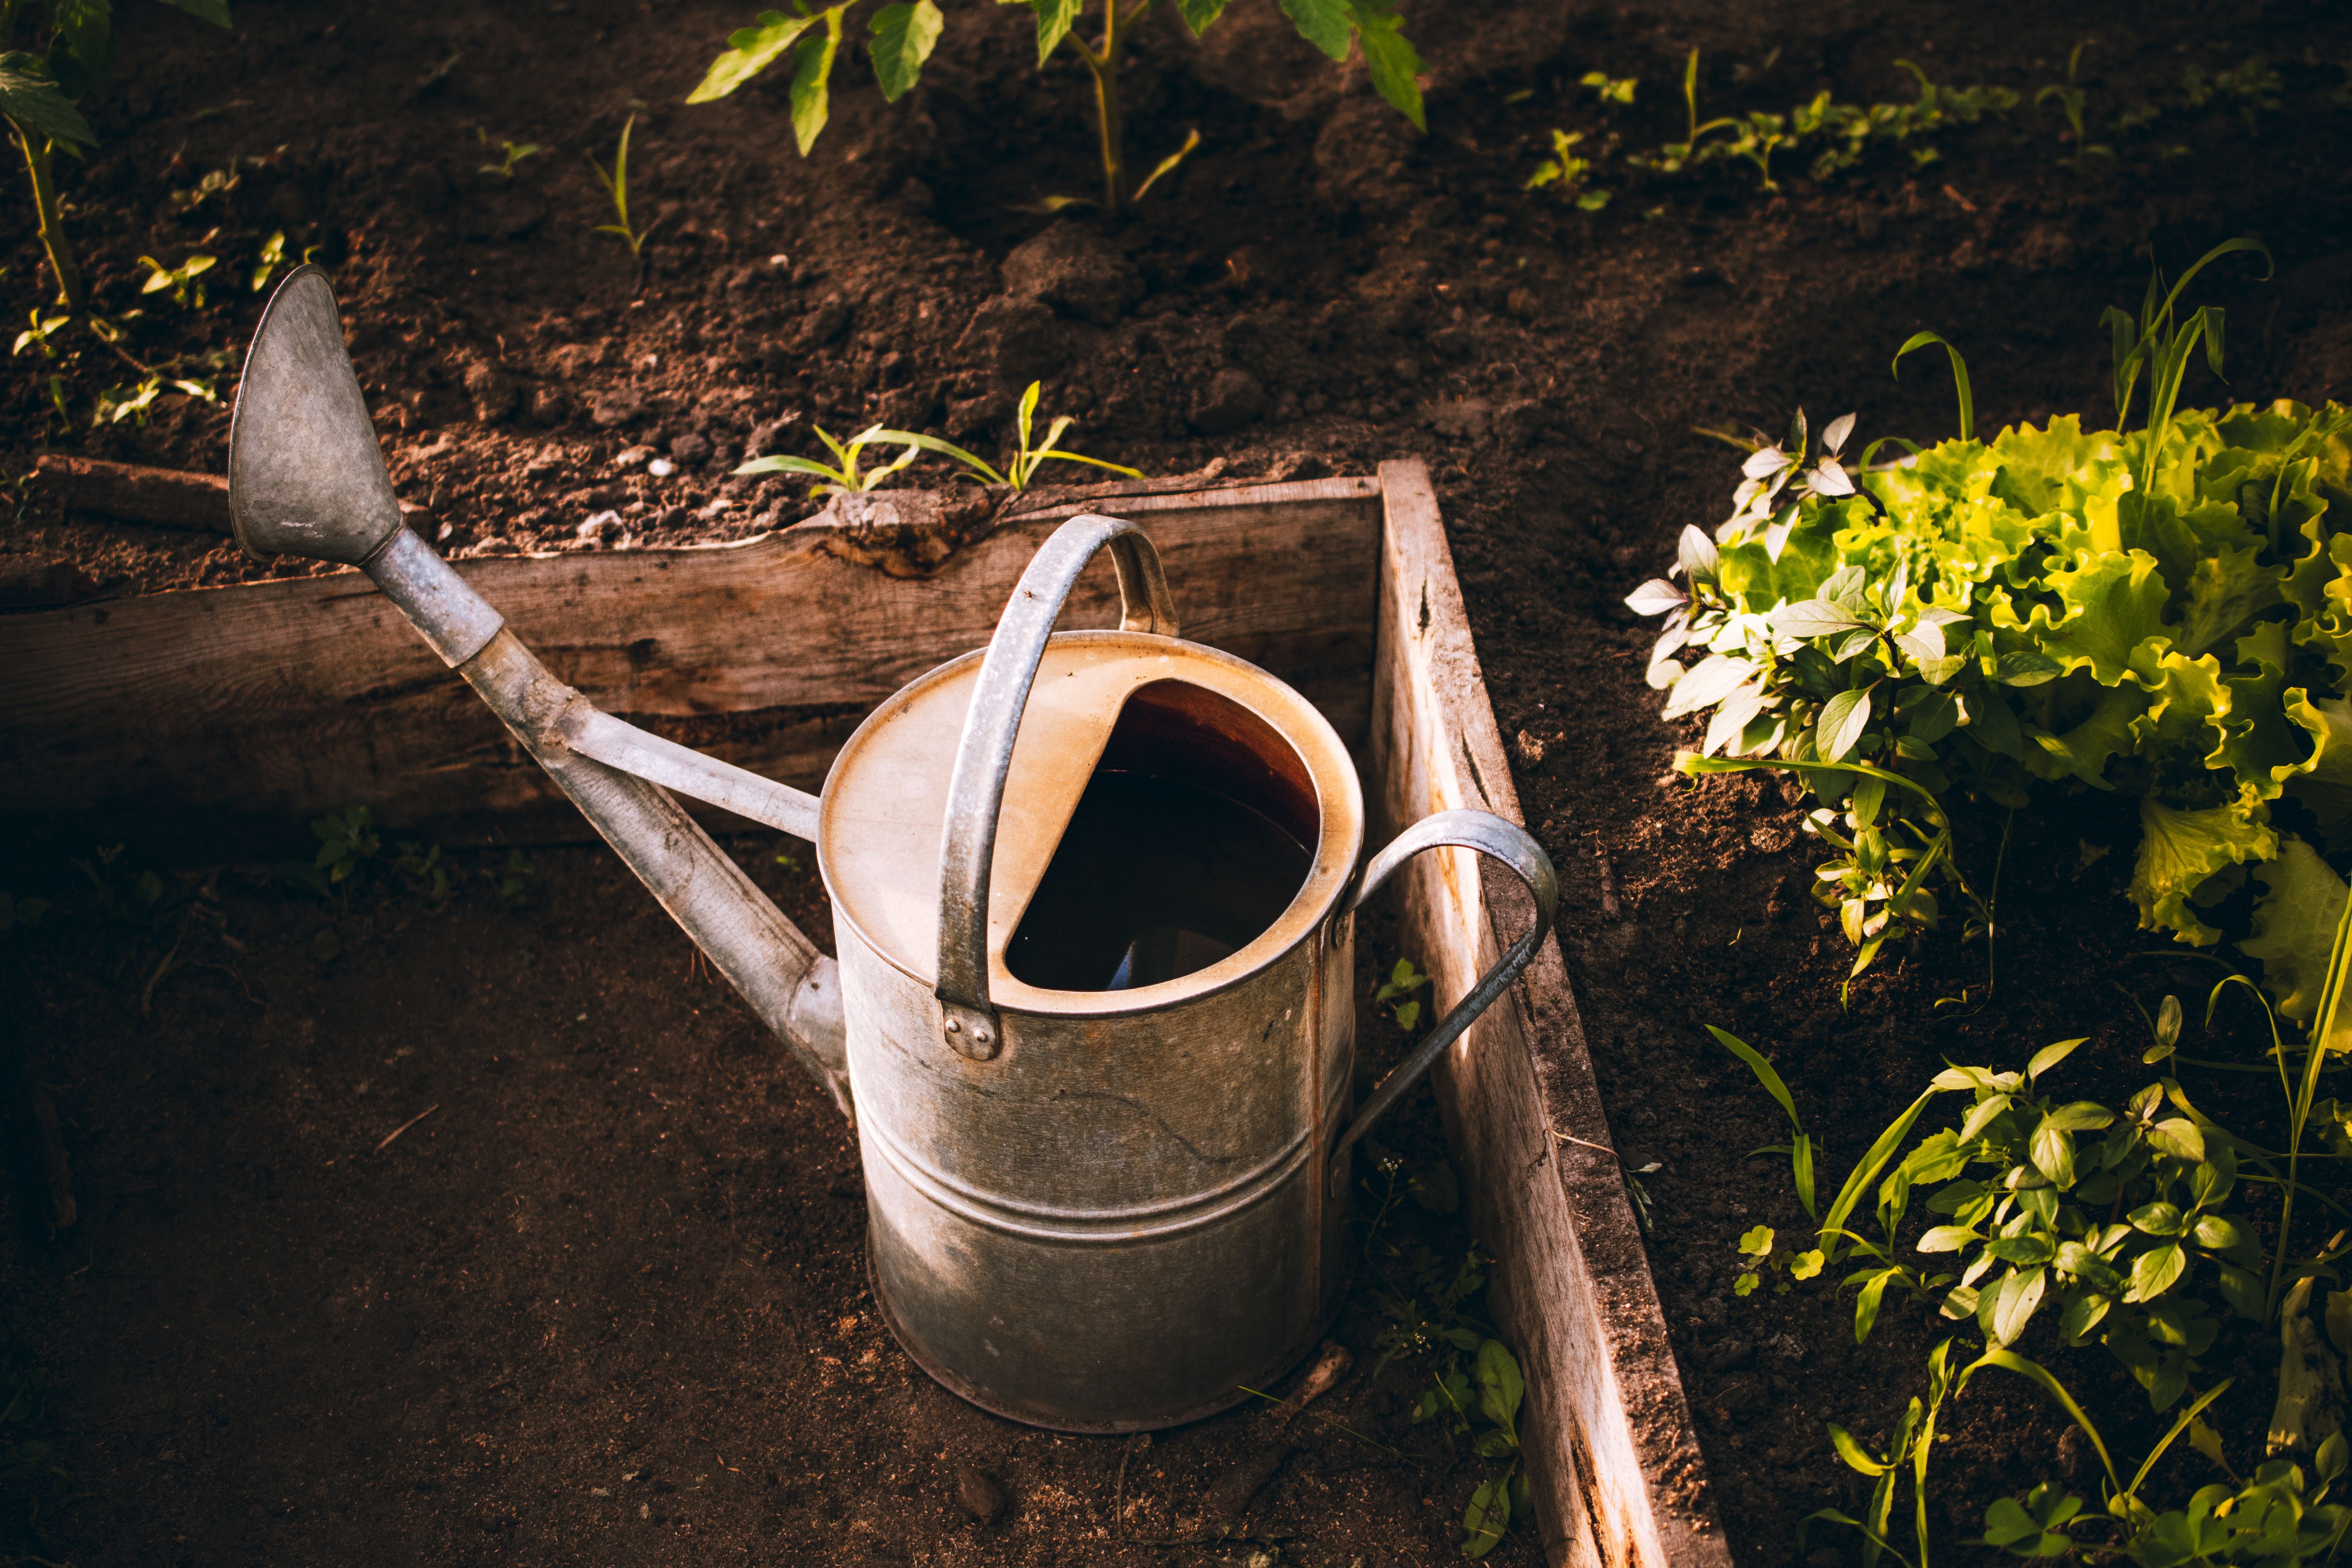
- Add the routine: hose or watering can, labels, hand tools, support and crop protection.
- Start small: plant a manageable crop list before adding another bed.
6. A 30-minute decision checklist
Before ordering, write one answer to each question. If an answer is unclear, the right next step is more measuring, not a larger product.
- Where will the bed sit, and what is the finished footprint?
- Can you reach the center from every side you need to use?
- How much direct sun reaches the site during the growing season?
- Where will water come from, and where will excess water drain?
- Can soil, compost and replacement parts reach the site?
- What crop group will fill the bed first?
- Does the depth match those crops and the surface below?
- Is the material identified, stable and appropriate for the use?
- What is the total first-season cost after soil, water and protection?
- What is the smallest version that would still make the routine worthwhile?
Frequently asked questions
What is the best width for a small raised bed?
If you can walk around both sides, a bed around 3 to 4 feet wide is a common starting range. If it touches a wall or fence, make it narrower so you can reach the back without stepping into the soil. Your reach, tools and mobility matter more than a universal number.
Can I put a raised bed on concrete or a balcony?
Yes, if the structure and surface can handle the load and the design provides controlled drainage. Treat it like a large container: confirm the weight, protect the surface, keep water away from doors and walls, and follow any building or landlord rules.
Should I put plastic or gravel under a raised bed?
Do not add a layer that blocks drainage. On open soil, an impermeable bottom can restrict roots and trap water. On a hard surface, use a container designed for drainage and follow its instructions. Gravel does not replace a real drainage outlet.
Is metal too hot for a small garden?
It depends on the climate, sun exposure, color, airflow and the bed's design. A metal bed in full afternoon sun may need more careful watering than one in morning light. Compare the location and maintenance routine, not just the material label.
How much soil does a raised bed need?
Multiply internal length by internal width by the planned growing depth. Convert all measurements to the same unit, then add a modest settling allowance and confirm the supplier's bag volume. Our soil volume calculator sheet is staged for this planning step.
Useful sources and verification
Use these sources to verify dimensions, drainage, access and material guidance before buying or building:
- University of Minnesota Extension: Raised bed gardens for access, materials and growing-medium guidance.
- University of Delaware Cooperative Extension: Raised Bed Gardening for light, water, size and depth considerations.
- University of Maryland Extension: Safety of materials used for building raised beds for wood and reclaimed-material cautions.
- Purdue Extension: Container and Raised Bed Gardening for drainage and reach guidance.
Conditions vary by site, crop and climate. Confirm local recommendations and the manufacturer's instructions before construction or planting.